
How Professional Failure Analysis Services Help Manufacturers Prevent Costly Product Recalls
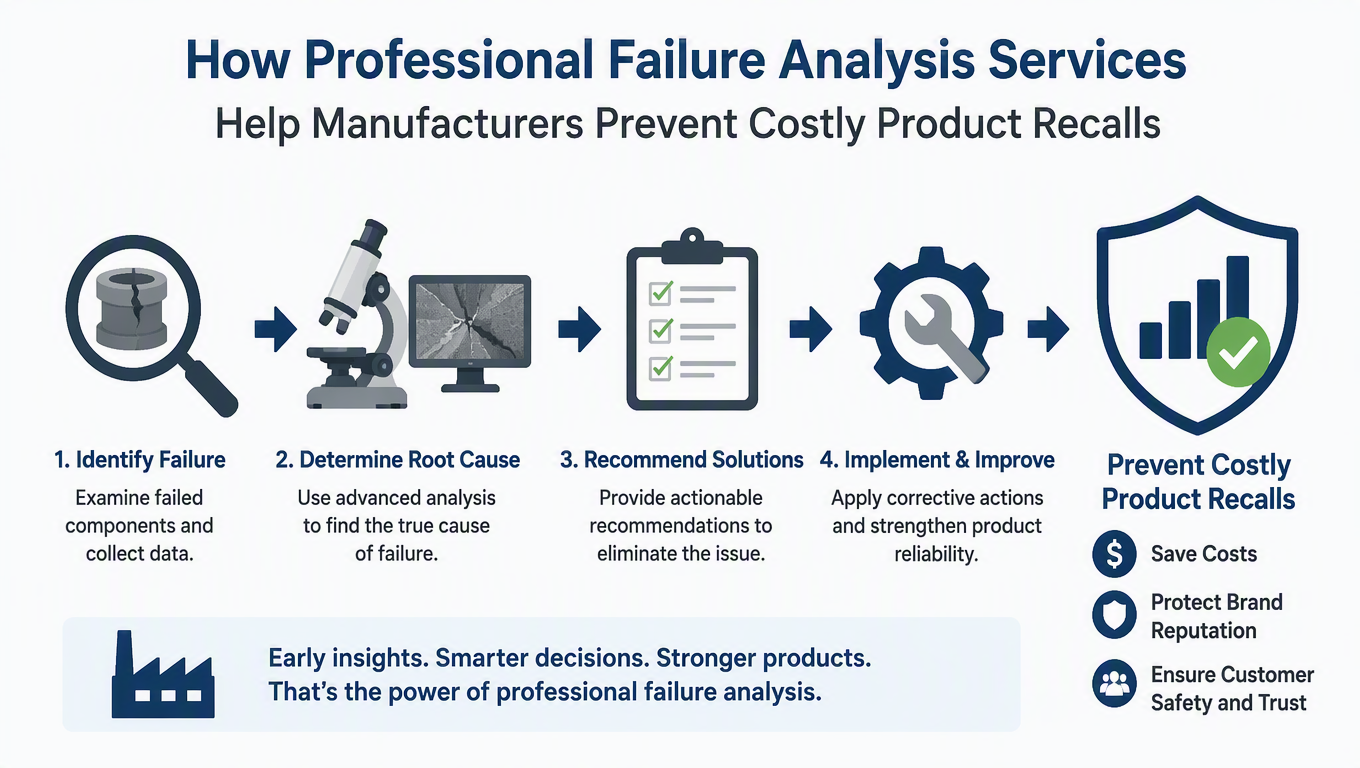
Every product failure tells a story. While a cracked gear, a broken weld, a leaking pressure vessel, or a broken fastener might seem like a single occurrence, it is usually a symptom of a much larger problem in the material, manufacturing process, or product design. When the cause is not known, thousands of identical components may be affected, resulting in warranty claims, production downtime, regulatory investigations and expensive product recalls.
Failure Analysis Services enable manufacturers to go beyond replacement of the failed part. Failure analysis is the process of advanced laboratory testing, materials engineering and root cause investigation that determines the cause of a failure and provides the evidence to prevent future manufacturing failures. The data can help manufacturers increase product reliability, improve product quality management systems and lower long-term risks to the business enterprise.
Why Failure Analysis Is Essential for Modern Manufacturing
Most product recalls begin with a single reported component failure returned for investigation. Unless an engineering investigation is performed in a structured manner, manufacturers do not know if the failure happened because the materials they used were unsuitable, a manufacturing defect, design limitations, environmental exposure or abnormal operating conditions.
Failure analysis can give objective evidence that can help engineering teams determine if the failure was caused by an isolated incident or if the failure of the part is a manufacturing issue. The results help engineering teams make informed improvements to processes, supplier quality, design, and production controls before more products reach customers. Failure analysis is often used in the following industries:
- Aerospace
- Automotive
- Oil and gas
- Power generation
- Heavy equipment manufacturing
- Medical devices
- Industrial machinery
- Chemical processing
In such areas, it is essential to determine the cause of failure to ensure product safety, compliance, and customer trust.
The Failure Analysis Workflow
Professional laboratories have a systematic investigation procedure that allows them to preserve evidence and determine the exact failure mechanism.
Step 1: Visual Examination and Documentation
A thorough visual assessment is always performed as part of every investigation. The fracture sites, wear, corrosion products, deformation, overheating, surface damage and operating history of the components are documented prior to any destructive testing. High resolution photography and stereomicroscopy allow critical evidence to be preserved which could later be used for understanding the crack initiation or failure progression.
Visual inspection is frequently an initial clue to the cause of failure, which may have been caused by overload, fatigue, corrosion, manufacturing errors, or improper installation.
Step 2: Non-Destructive Testing (NDT)
If the internal defects seem to be suspected, the laboratories employ Non-Destructive Testing technique to test the component without changing its condition. There are several common NDT methods, such as:
- Liquid Penetrant Testing (PT): Identifies very fine cracks that are on the surface of non-porous materials.
- Magnetic Particle Testing (MT): Used to detect discontinuities on the surface and in the near-surface of magnetic materials.
- Ultrasonic Testing (UT): Internal flaws like voids, laminations and inclusions are detected.
- Digital Radiography (DR): Generates high-resolution images of internal casting defects, weld discontinuities and assemblies.
The following techniques are used to ascertain the cause of the defect: whether it was during manufacture or during service.
Step 3: Metallographic Examination
When further investigations are needed, engineers take cross-sectional samples for metallographic examination according to standard procedures like ASTM E3 (Sample Preparation) and ASTM E407 (Chemical Etching).
The microstructure of the material inside the piece can be seen after polishing and etching, and engineers can assess:
- Shape and size of the grain.
- Heat treatment effectiveness
- Decarburization
- Phase transformations
- Non-metallic inclusions
- Casting porosity
- Weld microstructure
A common use of metallography is to detect manufacturing defects that may not be apparent in a routine visual examination.
Step 4: Scanning Electron Microscopy (SEM) and Energy Dispersive X-ray Spectroscopy (EDS)
For fractures that need to be examined in detail, the laboratory might apply a Scanning Electron Microscopy (SEM) to examine the failures at a higher magnification and detail. SEM can assist engineers to find out:
- The locations from which fatigue cracks nucleate
- Brittle cleavage fracture
- Ductile overload
- Intergranular fracture
- Stress corrosion cracking
- Hydrogen embrittlement
In addition to the SEM capabilities, Energy Dispersive X-ray Spectroscopy (EDS) is an additional capability that can be used to determine the elemental composition of fracture surfaces, corrosion products, contaminants and inclusions. This analysis can be very useful when examining contamination of materials, coating failure or unusual forms of corrosion.
In investigating the failure of a fractured drive shaft, SEM examination identified beach marks typical of high-cycle fatigue from a small surface defect. EDS also revealed chrome deposits near the crack origin, which suggests corrosion played a role in the crack propagation and thus early failure.
Step 5: Mechanical and Chemical Testing
Mechanical testing verifies whether a material meets its required performance. Common tests include:
- Tensile testing
- Hardness testing (Rockwell or Vickers)
- Impact testing
- Fatigue testing
Chemical analysis using Optical Emission Spectroscopy (OES), X-ray Fluorescence (XRF), or Positive Material Identification (PMI) confirms alloy composition and detects material substitutions or contamination.
Combined mechanical and chemical results help determine whether material selection contributed to the failure.
Step 6: Root Cause Reporting and Corrective Actions
The last step of failure analysis is the writing of a root cause report. Engineers analyze evidence to determine the failure mode and cause, material, design, manufacturing, or service. The report includes methods, results, and recommendations for corrective and preventive actions to improve reliability, reduce costs, and prevent recurrence.